How to Fix Common Epoxy Mistakes?
Working with epoxy can be both rewarding and challenging. Whether you’re a professional marketer handling an industrial project or a homeowner delving into an indoor renovation, epoxy mistakes can derail your efforts. However, with the right knowledge, you can troubleshoot these issues effectively. Here are some common epoxy mistakes and how to fix them, ensuring your project is a success.
1. Improper Mixing
One of the most common mistakes is not mixing the epoxy properly. Epoxy comes in two parts: resin and hardener. These need to be mixed in the correct ratio, usually 1:1 or as specified by the manufacturer. Failure to mix thoroughly can result in sticky, uncured spots.
Solution: Always read the manufacturer’s instructions and follow them precisely. Use a clean, flat mixing tool and mix the components in a container that allows you to scrape the sides and bottom thoroughly. Mix for the recommended time, usually 3-5 minutes, ensuring a uniform consistency.
2. Temperature and Humidity Issues
Epoxy is sensitive to environmental conditions. High humidity can cause a milky appearance, while low temperatures can prevent it from curing properly.
Solution: Work in a controlled environment. The ideal temperature range for most epoxies is between 70°F and 80°F (21°C to 27°C), with low humidity. Use a dehumidifier if necessary, and warm the epoxy components if working in cooler temperatures.
3. Bubbles in the Epoxy
Bubbles can form during mixing or application, leading to an uneven finish.
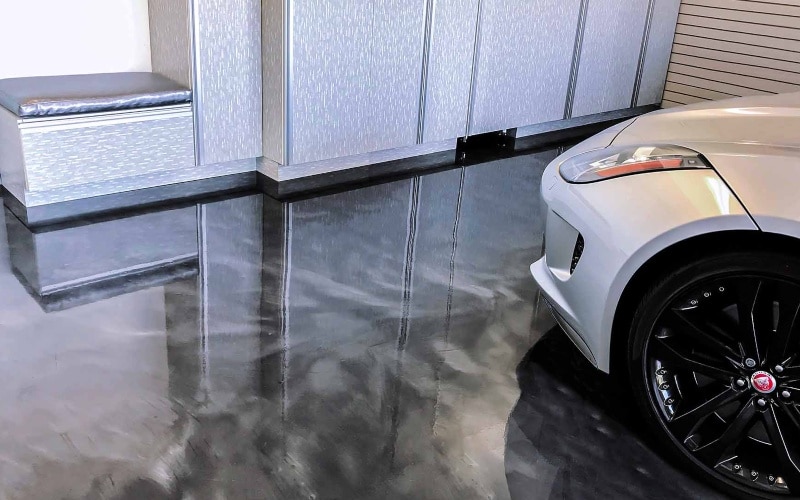
Solution: To minimize bubbles, mix the epoxy slowly and avoid whipping air into the mixture. After pouring, use a heat gun or a propane torch held at a safe distance to gently wave over the surface. This will pop the bubbles and leave a smooth finish.
4. Incomplete Curing
If the epoxy remains tacky or soft, it likely hasn’t cured correctly, often due to incorrect mixing ratios or inadequate environmental conditions.
Solution: Scrape off the uncured epoxy and start again, ensuring proper mixing and environmental control. Sometimes, applying a thin layer of fresh epoxy over the tacky layer can help it cure properly.
5. Surface Contamination
Dirt, dust, or oils on the surface can interfere with epoxy adhesion.
Solution: Clean the surface thoroughly before applying epoxy. Use a solvent like acetone or denatured alcohol to remove contaminants, and ensure the surface is completely dry before application.
6. Running or Sagging
Epoxy can run or sag on vertical surfaces if applied too thickly.
Solution: Apply epoxy in thin layers, allowing each to partially cure before adding the next. For vertical surfaces, use a thicker formulation of epoxy designed for such applications.
7. Discoloration
Epoxy can yellow over time, especially when exposed to UV light.
Solution: Use UV-resistant epoxy for projects exposed to sunlight. Additionally, adding a UV stabilizer to your epoxy mix can help maintain its clarity.
By addressing these common epoxy issues with the right techniques, you can ensure a smooth, professional finish for your project. Remember, patience and attention to detail are key. With these tips and tricks, you’ll be well-equipped to handle any epoxy challenges that come your way, avoiding bigger hassles down the line.
Understand the type of epoxy you are using and its application instructions
As a professional, it is essential to understand the type of epoxy you are using and its application instructions. Epoxy is a versatile adhesive that can be used in various industries, from construction to automotive repair. However, there are different types of epoxies available, and they vary in their working time, cure time, and strength. Therefore, it is vital to choose the right epoxy for your application and use it correctly. Before you start working with epoxy, review the instructions carefully, and make sure you have all the necessary tools and safety equipment. By following the proper guidelines, you can ensure a successful outcome and a durable, long-lasting bond.
Inspect your surface for any pre-existing damage or irregularities before beginning the repair
Before beginning any repair job, it is important to thoroughly inspect the surface you will be working on. This not only ensures that the repair will be successful, but it also allows you to identify any pre-existing damage or irregularities that may affect the finished product. Taking the time to assess the surface can save you a lot of frustration and additional work in the long run. As a professional flooring contractor, it is your responsibility to provide the highest level of quality in your work, and this starts with a thorough inspection of the area you will be repairing. So take a close look and make note of any imperfections you see before getting started. You’ll thank yourself later.
Clean the surface thoroughly to ensure a strong bond
A strong bond between surfaces is critical for the success of any project, and ensuring that the surface is thoroughly cleaned is the first step towards achieving that bond. A professional approach in cleaning and preparing the surface will not only increase the strength of the bond but also enhance the quality and longevity of the finished product. By exercising diligence and focus in the initial stages of the project, you can guarantee that the outcome will meet or exceed your expectations.
Pre-mix your epoxy according to the manufacturer’s instructions
To ensure the best results when working with epoxy, it’s crucial to pre-mix the solution according to the manufacturer’s instructions. This step may seem simple, but it cannot be overlooked if you want a durable and long-lasting finish. Skipping this important step can lead to issues such as uneven mixing, uncured epoxy, or a shortened lifespan for your project. By following the instructions carefully, you’ll be taking an important first step toward ensuring that your epoxy creation is not only visually stunning but also durable and able to stand the test of time.
Apply the epoxy slowly, looking for air bubbles or other imperfections
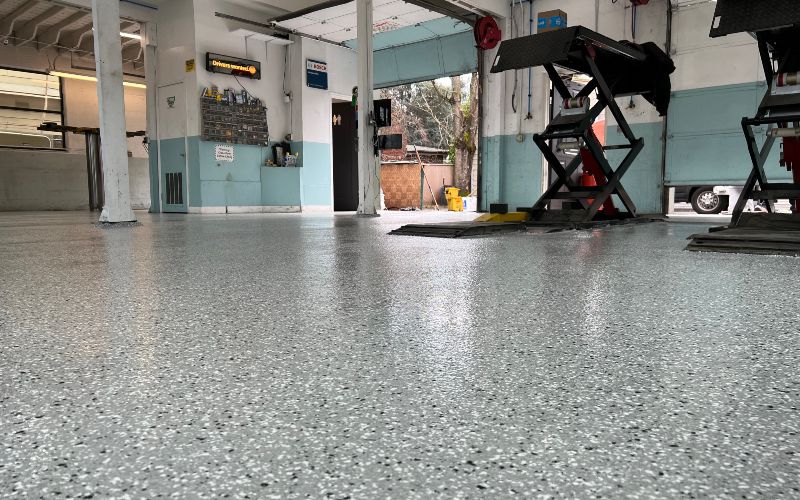
When applying epoxy, it’s important to take your time and approach the process with a watchful eye. Slow and steady wins the race, as they say, and this certainly rings true when it comes to achieving the perfect finish. As you carefully spread the epoxy, keep an eye out for any air bubbles or other imperfections that may arise. By being attentive and proactive, you can catch these issues early on and make the necessary adjustments to create a flawless result.
Allow enough time for the epoxy to cure and harden completely
Ensuring that epoxy has adequate time to cure and harden is crucial for achieving a strong and durable bond. Rushing the process can result in a weakened bond and potentially costly repairs down the line. Patience is key when working with epoxy, as the curing time can vary based on factors such as temperature and humidity. It’s important to carefully read and follow the manufacturer’s instructions, which will guide you on the appropriate curing time for your project.
In conclusion, preventing common epoxy mistakes is a matter of learning and understanding the type of epoxy you are using, inspecting and prepping your workspace, following instructions for mixing and applying the epoxy, and allowing it enough time to cure. A critical part of any project involving epoxies is to take your time and make sure that it is done properly. Good luck and happy repair!


